Cypress: UI Test For Your React/Webpack Project
UI Test has been a problem for every web front end project once it grows and becomes rather complicated while the common unit tests fail to cover complex workflow and business logic.
UI Test in this artile, I would say it’s more like integration test, but I would not put it as E2E test, since I have no intention to test the real backend. So the things that I am going to talk about in this article, are “login and redirect to the home page”, “sign up and redirect to the home page”, “create a query in the dashboard and see if the result is correctly rendered” and all sort of stuff that a unit test is unable to cover.
Why Cypress?
There are several key differences that makes Cypress special.
Architecture
Not like a lot of other UI Testing frameworks, Cypress is not built based on Selenium. It runs all the test cases in the same run loop as the application.
It also has a Node.js server process running outside of the browser, which communicate with the Cypress tasks running in the browser, helps it to perform tasks that requires a higher privilege, for example, tasking screenshots, recording videos.
Network Control
Cypress also has the control of the network layer by reading and altering web traffic on the fly, which makes the mocking of request so much easier. (Selenium does not support such API)
Native Access
Since Cypress tests run within the browser, it has access to all the native objects like window, document, a DOM element or anything else.
By saying it is native access, it’s because all these accessed object are the actually reference, no object serialization or over-the-wire protocol involved.
cy.window().then(window => console.log('window', window));
Debuggability
Cypress is so easy to debug, the debug features include:
- Built-in custom error messages describing the exact reason why your test fails
- A rich UI visually shows you the command execution, assertation, network requests, spies, stubs, page loads or URL changes.
- Cypress takes snapshots of each steps of your test cases.
- DevTools available and you can even use debugger statement in your test cases.

Other Advantages
- Very easy to setup, just a npm install command
- Documentation is awesome
- Easy to setup in CI system and they provide Cypress Dashboard to easily monitor the test cases running during your CI system (screenshots/videos)
- Yes, it’s pretty fast!
- Bundled tools of most best practice open source testing libraries, like Mocha, Chai, Sinon
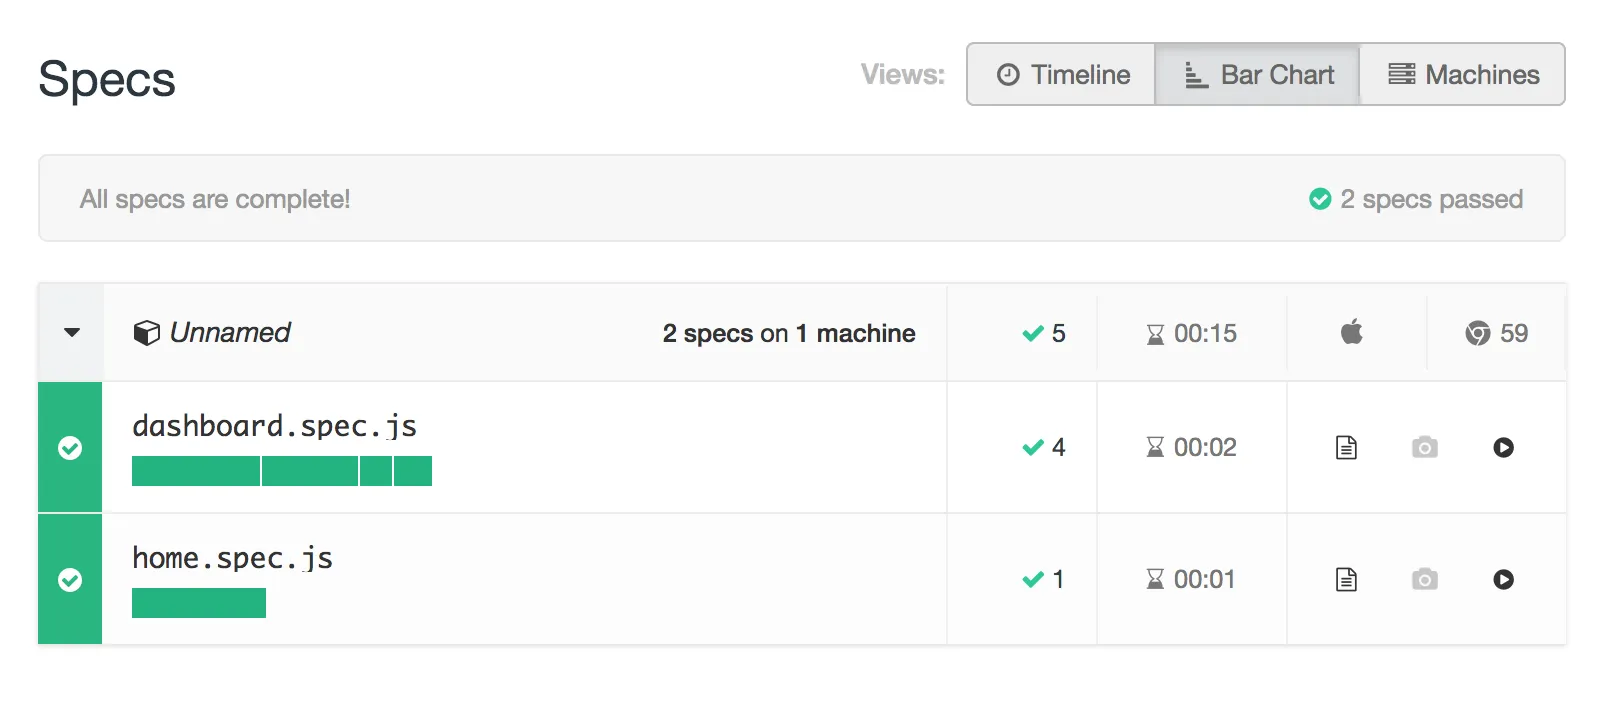
The dashboard for my test cases:

Setup Cypress
As simple as:
npm install cypress --save-devAfter the installation finishes, simply just run:
./node_modules/.bin/cypress openThe cypress app will open, and it creates folders and test examples to help you start:

Close the modal and you shall be able to click any of the test spec listed in the list to run all just hit the button “Run all specs” to give it a try.
Run Your Test Cases
I will use one of my repository react-webpack-spa as the example to write Cypress test case. It is a single page application, you can use npm run dev to start the local server, the home page is like:

To test this page, we will just simple check if the route will automatically update and the element is correct. Let’s create ./cypress/integration/home.spec.js and put int the following:
describe('Home', () => {
  it('essential elements should all exist for home page', () => {
    cy.visit('http://localhost:8081');
    cy.location('pathname').should('include', '/home');
    cy.contains('This is Page Home');
  });
});
The test case is very simple and straightforward, it opens the local web page, and then check if the route automatically update to /home and then check if the correct copy is one the page.
You can check Cypress API to get more information about how to use the API.
Now if you get back to the Cypress app again, you should see the newly created spec appears and you can click to run it:

You can see how after the test finished I could still be able to go through each step and see the page back at that moment.
Stub The Network
Even though we only want to focus on the UI testing, to drive most web applications, a backend server is needed to serve data APIs.
There two main approaches to provide this dependence, though each approach works, they do have pros and cons.:
Use real server
Using a real server means all the request from your application will really hits the server, it will guarantee that your server works correctly with your front end.
The downside of this approach is that you need to set up real backend data specifically for your test cases and it will be difficult or trivial to cover edge cases.
Since the whole logic of the request is real in your backend, it also means it will be very slow if complicated process is involved.
Mock the backend
Instead of providing a real backend service, this approach will just stub the backend API, which is quite easy in Cypress with the route API.
Since it’s all fake, you can return what ever data you need for your test cases, making the preparation of data much easier, and since it’s fake, the response can be very fast.
The drawback about this approach is that it’s not real backend, so it can only assume the backend returns certain response, it can’t guarantee that it works in production.
You can check out Cypress’s guide about how to deal with network request
Which Approach Should I choose
Cypress can work with both of the approaches, but you need to understand your requirements to make a decision. The higher the reliability your application requires the more effort you will need to take to test your app against the real environment.
This can be a big topic and from my perspective, the ultimate approach should be using both of the approaches. So that the front end can use the mocked backed in development without relying on the backend and easily test all the edge cases, at the same time tests against the real backend will make sure the real backend behaves the same way the front end expects. Technically it should be quite doable to reuse all the test cases from both side.
Apart from my opinion about the best practice, we will only focus on how to mock the backend in this article.
Let’s Mock the APIs
To show you how to mock the backend, we have another page route as /dashboard, which will load a list of posts from an API endpoint and render them:
    import React from 'react';

    export default class Dashboard extends React.Component {
      constructor(props) {
        super(props);
        this.state = {
          isLoading: false,
          posts: null,
          loadingError: null,
        };
        this.loadPosts.bind(this);
      }
      componentDidMount() {
        this.loadPosts();
      }

      loadPosts() {
        this.setState({
          isLoading: true,
        });
        const req = new XMLHttpRequest();
        req.addEventListener('load', res => {
          const currentTarget = res.currentTarget;
          if (currentTarget.status === 200) {
            const posts = JSON.parse(currentTarget.responseText);
            this.setState({ posts, isLoading: false });
          } else {
            this.setState({ loadingError: currentTarget, isLoading: false });
          }
        });
        req.open('GET', 'https://jsonplaceholder.typicode.com/posts');
        req.send();
      }

      render() {
        if (this.state.loadingError) {
          return <div>There's something wrong!</div>;
        } else if (this.state.isLoading || !this.state.posts) {
          return <div>Loading posts ...</div>;
        } else if (this.state.posts.length) {
          return (
            <ul>
              {this.state.posts.map(({ id, title, body }) => (
                <li key={id}>
                  <h3>{title}</h3>
                  <p>{body}</p>
                </li>
              ))}
            </ul>
          );
        }
        return <div>There's no post yet</div>;
      }
    }
Basically it load posts from https://jsonplaceholder.typicode.com/posts and render them as a list. It will also render the status of “loading”, “no data” and “error”.
The page looks like below:

To test this page, we need to cover those cases:
- The page should showing “loading” when it is loading posts
- The page should render the posts after loading the posts
- The page should render “No posts” if no post returns
- The page should render “error” if the loading fails.
So let’s start just by checking the “loading” shows (./cypress/integration/dashboard.spec.js):
describe('Dashboard', () => {
  it('should show loading while loading posts and show not post', () => {
    cy.visit('http://localhost:8081/dashboard');
    cy.contains('Loading posts ...');
  });
});
You should see the file appears in Cypress, click to run the test case:

Now we want to test the rendering of the posts, it’s better we have the control of the response so that we know what to test.
To stub a request, Cypress provides APIs cy.server() and cy.route(). cy.server() starts the stub and you use cy.route() to define which request you want to stub.
See the test case for rendering the posts, it should be quite straightforward:
it('should render posts after loading', () => {
  const posts = [
    { id: 1, title: 'title1', body: 'body1' },
    { id: 2, title: 'title2', body: 'body2' },
  ];
  cy.server();
  cy.route({
    url: 'https://jsonplaceholder.typicode.com/posts',
    method: 'GET',
    response: posts,
  }).as('loadPosts');
  cy.visit('http://localhost:8081/dashboard');
  posts.forEach(post => {
    cy.contains(post.title);
    cy.contains(post.body);
  });
});
Here we specify the url, method to match the request, and provide our mock data as response.
we also give the request an alias as loadPosts so that it will be easily recognized in the result:

From the screenshot you can see Cypress provides very detailed information about each step and the alias we give for the request has been highlighted.
We can do quite the same for the case of no post, just set the response as [].
it('should show no post if no post returns', () => {
  cy.server();
  cy.route({
    url: 'https://jsonplaceholder.typicode.com/posts',
    method: 'GET',
    response: [],
  });
  cy.visit('http://localhost:8081/dashboard');
  cy.contains('There\'s no post yet');
});
At last let’s test when the loading fails. To mock a request failure, we can simply just response a 500:
it('should show error while loading fails', () => {
  cy.server();
  cy.route({
    url: 'https://jsonplaceholder.typicode.com/posts',
    method: 'GET',
    status: 500,
    response: '',
  });
  cy.visit('http://localhost:8081/dashboard');
  cy.contains('There\'s something wrong!');
});
And the result:

Quite amazing how easy it is to mock request, but currently there’s one issue with the stub feature, which is it is not able to stub window.fetch, that’s why in the example I used XHR to make request. You should see this issue to follow the process and solutions.
Set Up CI
To run the test cases without involving the Cypress web, just use:
./node_modules/.bin/cypress runIt will run the tests in the memory:

There’s one thing I didn’t mention, during the test running, we need to make sure that our local web server is on, so that it can server the web application on http://locahost:8081. So to make sure our cypress test cases run correctly, we need to start our server before we start the test.
We can try use command below:
npm start & cypress runwhich seems right but since the server starting process involves webpack initialization and compilation, before the server start to serve in localhost, the Cypress test cases will already timeout of waiting for the localhost to response.
To solve this problem, according to Cypress guide here, we can use some help with another npm module start-server-and-test:
npm install start-server-and-test --save-devThe usage of this tool:
./node_modules/.bin/start-server-and-test [npm command to start the server] http-get://localhost:8081 [npm command to run test]So this tool will execute the first command and wait for the response of the url provided, after the url is responsive, then it will execute the test command.
Let’s create the npm script to start the test (in package.json):
  "scripts": {
    "dev": "NODE_ENV=development node ./node_modules/webpack-dev-server/bin/webpack-dev-server --port 8081 --host 0.0.0.0 --progress --colors --hot --inline --content-base=build  --history-api-fallback",
    "cy-test": "./node_modules/.bin/cypress run",
    "cy-ci-test": "./node_modules/.bin/start-server-and-test dev http-get://localhost:8081 cy-test"
  },
Now you can use npm run cy-ci-test to start the server and then run cypress test.
Travis
You only need to configure your .travis.yml:
language: node_js
node_js:
- "8"
branches:
  only:
  - master
cache:
  directories:
  - node_modules
  - ~/.npm
  - ~/.cache
install:
  - npm install
script:
  - npm run cy-ci-test
notice we cached ~/.cache since that’s where Cypress intall the Cypress binary, it will not be saved to the node_modules in the application root.
Docker
If you test runs in a docker environment, the easiest way is to use cypress’s pre built image:
FROM cypress/base:8the number 8 is the nodejs version you want to use.
You should check out Cypress’s guide about continous integration
Monitor Your Cypress tests
Cypress provides a separate service called Cypress Dashboard, basically it’s a online platform that you can sent your cypress test results to cypress from whaterver CI system you are using, and you can see informations like screenshot and video about your test cases in Cypress Dashboard.
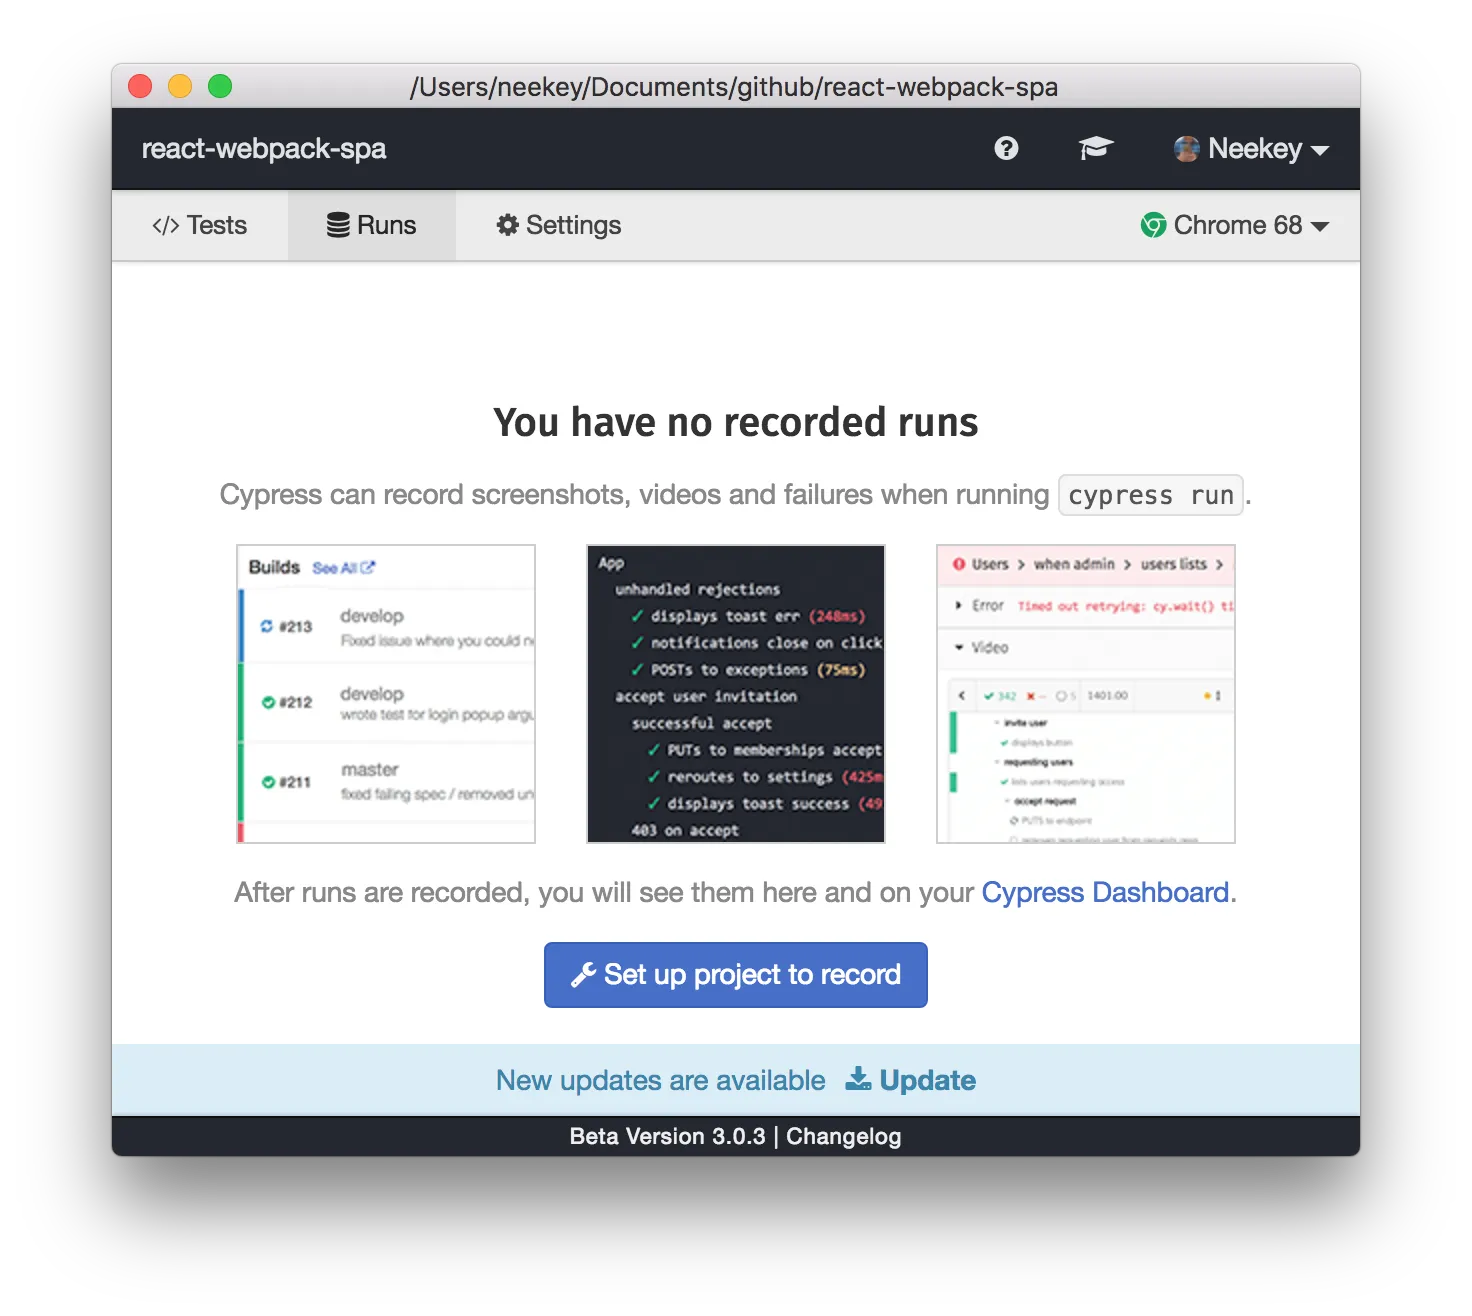
It’s super easy to set Cypress Dashboard up for your project. First you need to sign up and after you get you account, you can open your local Cypress app, switch to the “Runs” tab:
click “Set up project to record”:
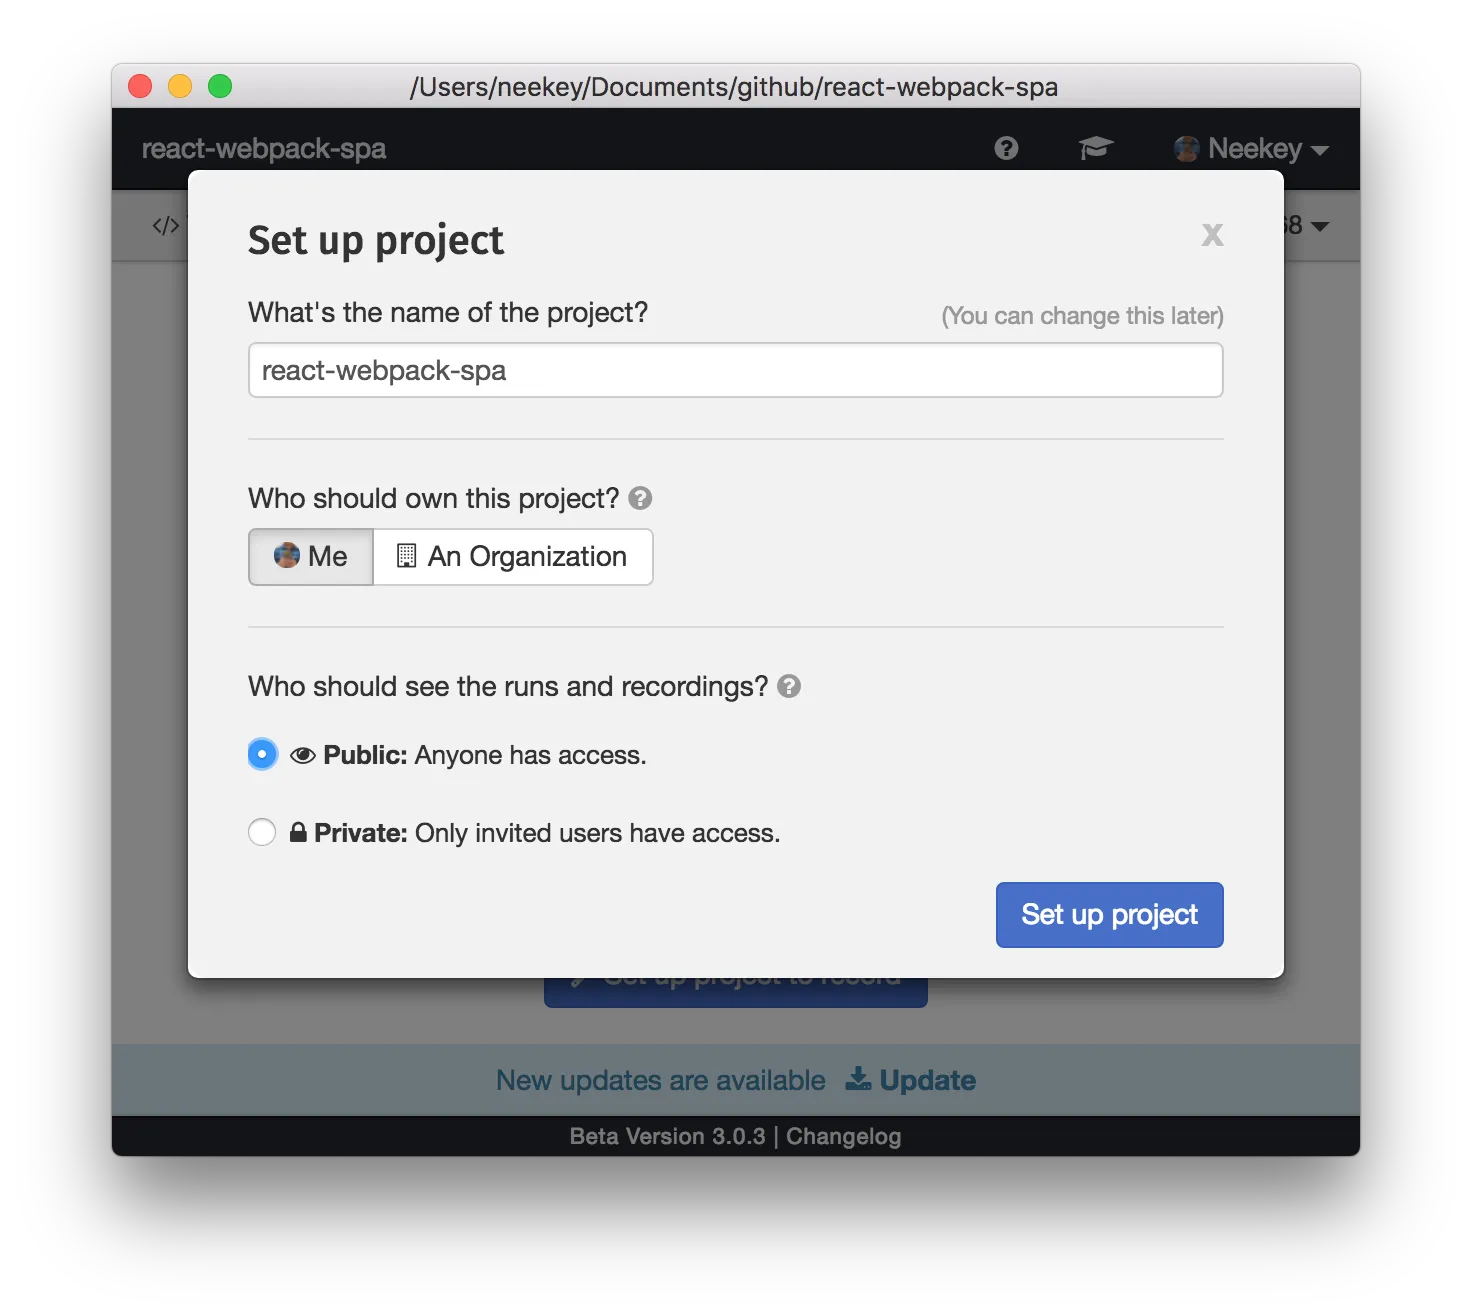
Fill in the form and hit “Set up project” and you will get a project id, which you can also find in the cypress.json in your project.
To have your test pass the report to Cypress Dashboard, simply add extra parameter to the end of the test command:
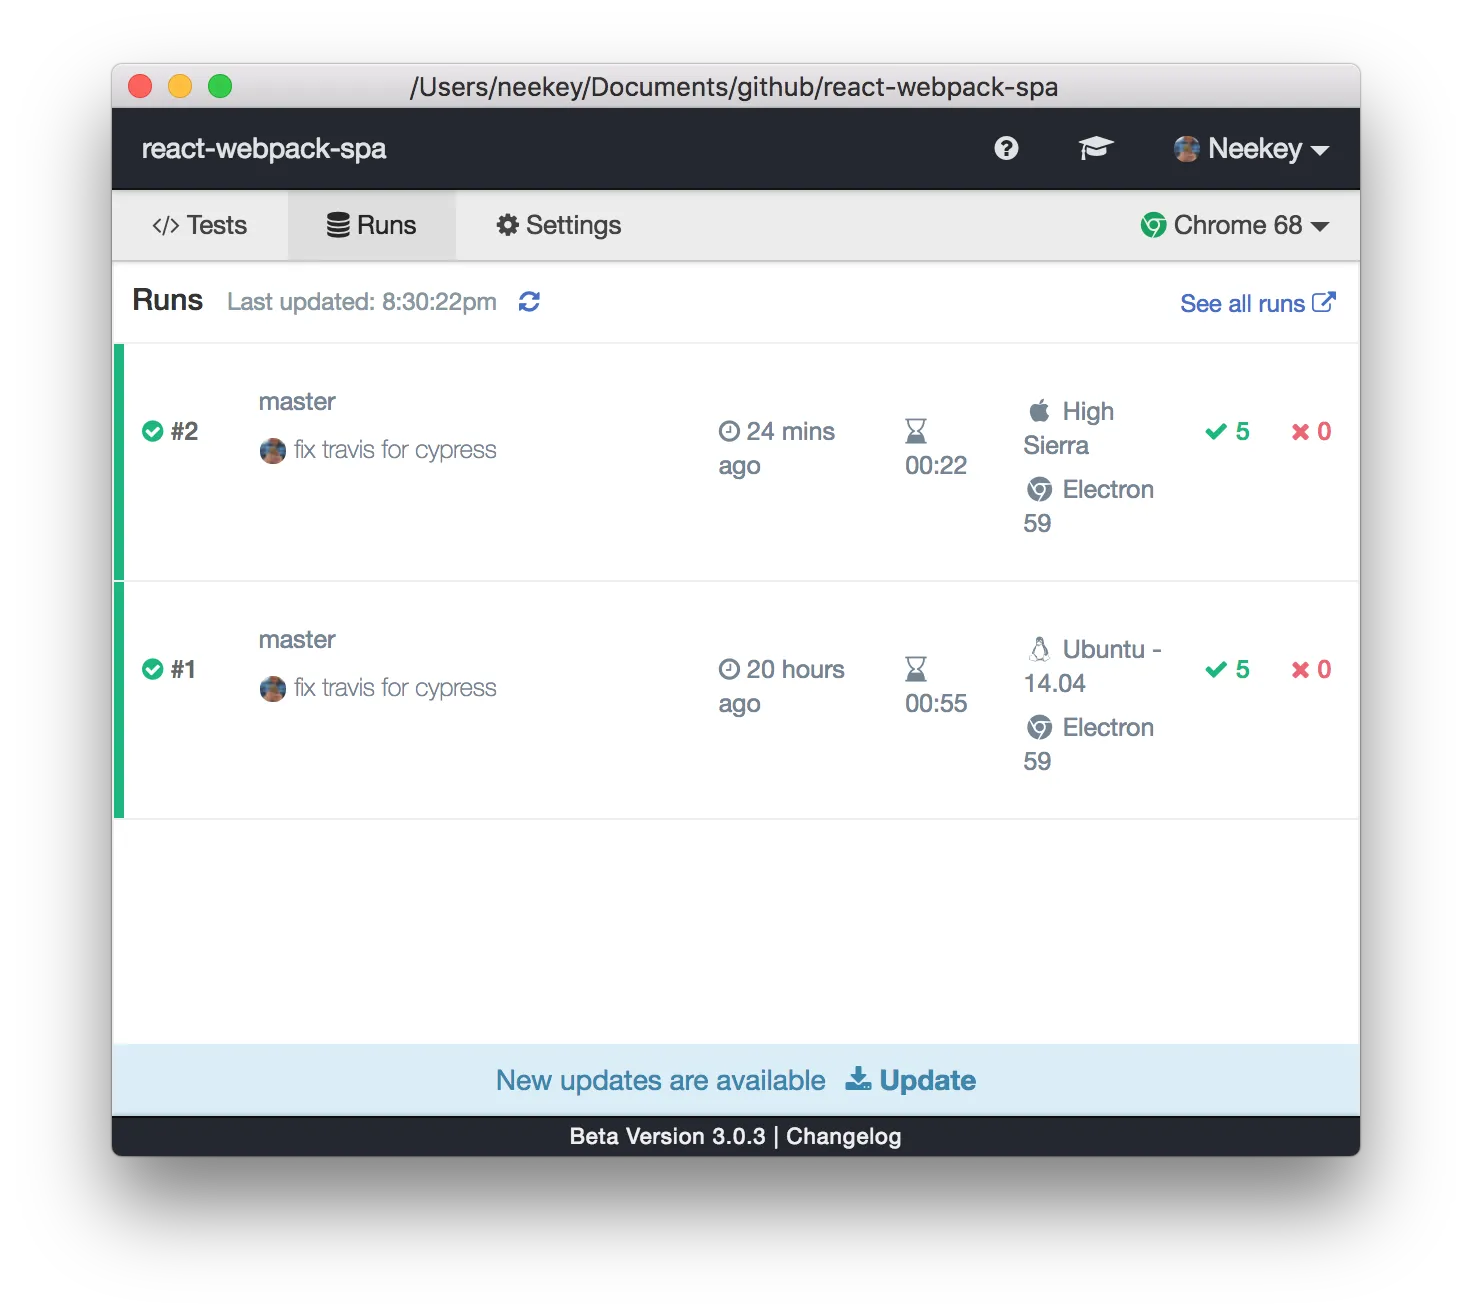
./node_modules/.bin/cypress run --record --key [you project id]now if you run your test again, you shall see the process in Cypress App in the “Runs” tab:
Click any of the test, it will take you to the Cypress Dashboard website.
Conclusion
This article spent quite a lot words to talk about the features about Cypress, but you should find the setup, writing test cases and CI is very easy.
Still there’s trade off for those advantages, you should take a look before use it in your project.
Comments