Migrate Parallel Desktop VM to VirtualBox
My Parallel Desktop subscription ended again when today I was trying to use my Windows VM to test out a page on IE.
Over the last 12 months I had only been using vm for very limited reasons, and probably ended up only opened Parallel Desktop for twice. A $99 renew for maybe another two times open of it just does not make senses to me. So I decided to find a cheaper or free alternative. Luckily I found VirtualBox, which is free and open source.
As I already have things setup in my Parallel Desktop VMs, so it would make sense if I can reuse them instead of creating new machines. So this article is just a quick note about the process.
Get Disk File
The disk file is the only file that is needed for VirtualBox, as all the OS System and your own documents are already there, VirtualBox just needs to serve as a container to run it.
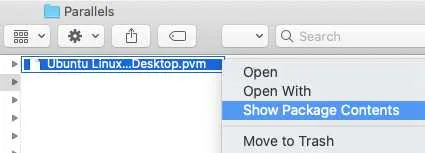
To get the disk file from Parallel Desktop, on Mac OS, they are usually under ~/Parallels/*.pvm. The .pvm are the VM files for Parallel Desktop, to get the Diskfile for each vm, just right click each .pvm file and select “Show Package Contents”:
Inside the package, you will find a .hdd file:
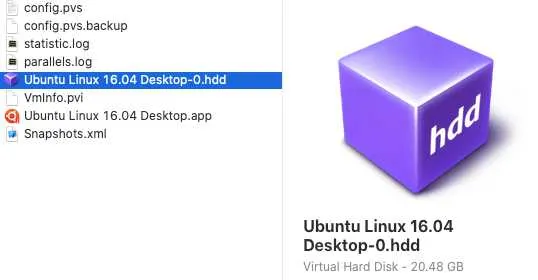
Right click the .hdd file and select “Show Package Contents” again:
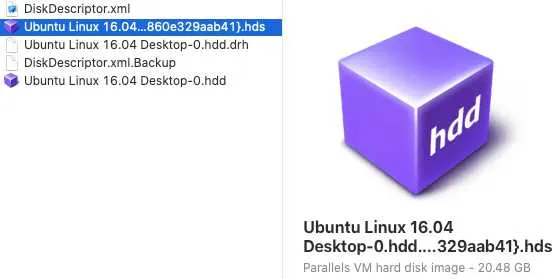
the .hds is the file that we need.
Copy it out and rename is with what you want to but with file extension of .hdd;
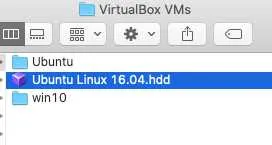
I usually just copy it to the VirtualBox folder:
Create New VM in VirtualBox
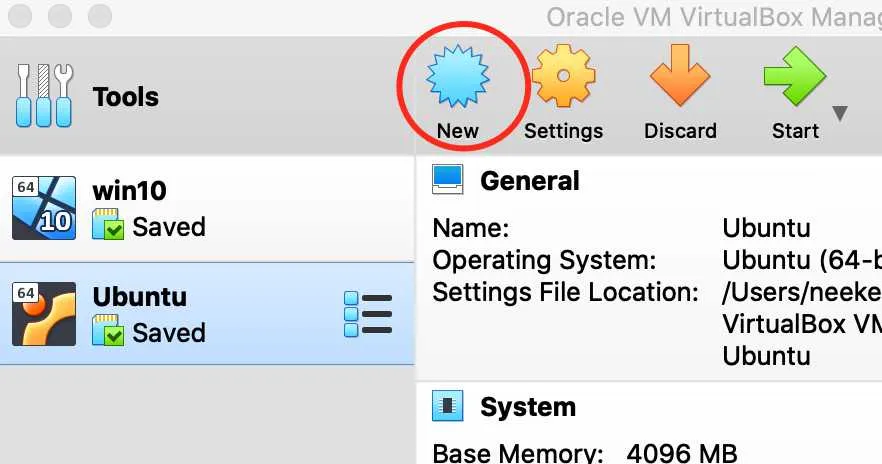
Next step is easy, in my case it’s Ubuntu. So open your VirtualBox and Select “New”:
Input The new VM name and select the System info based on your situation, and “continue”:

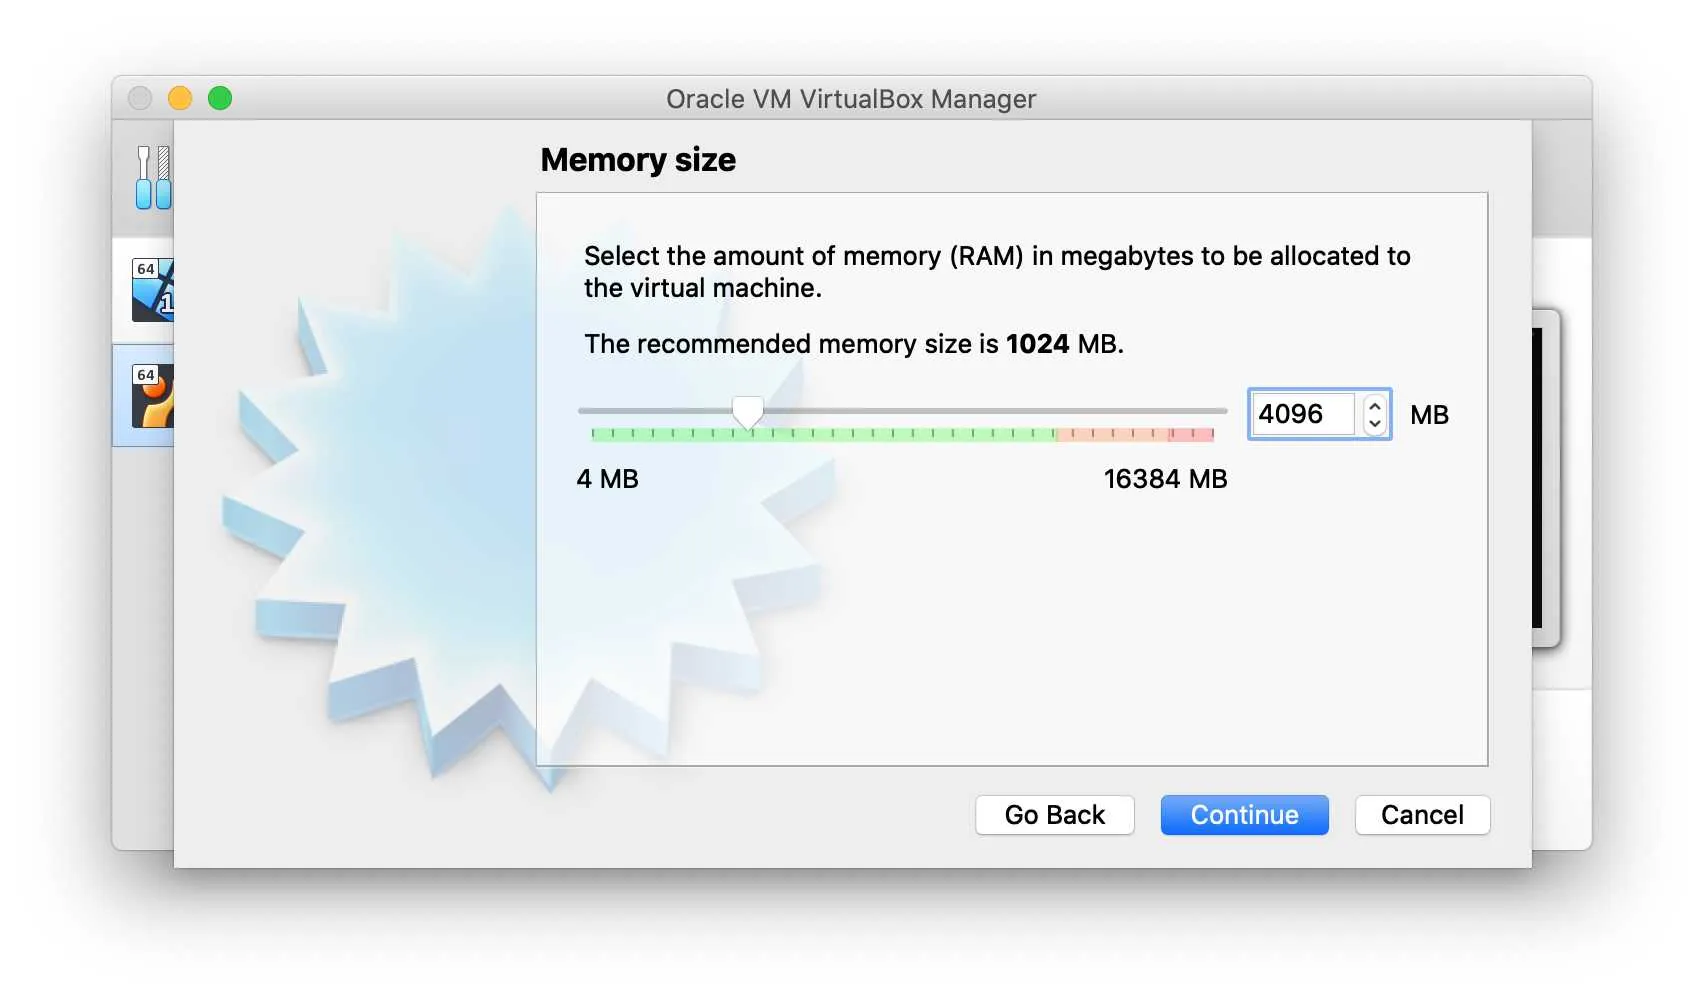
Select RAM size:
In the “Hard disk” step, we need to select “Use an existing viryual hard disk file”, and click the file icon on the right hand:
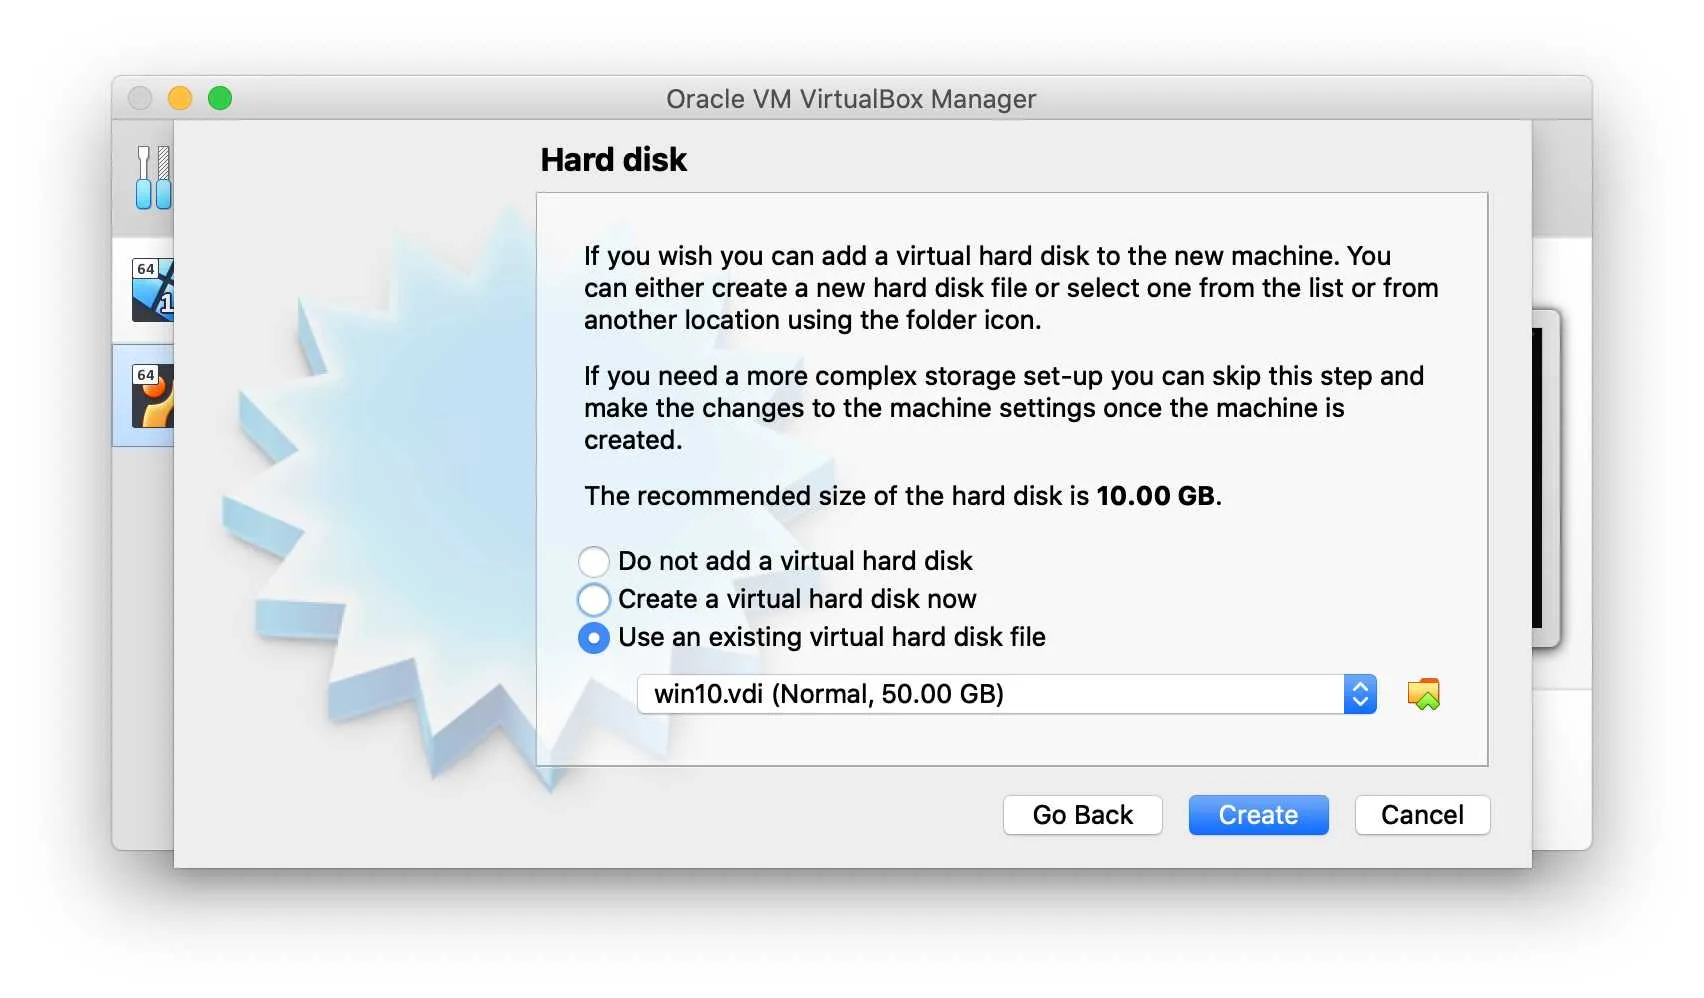
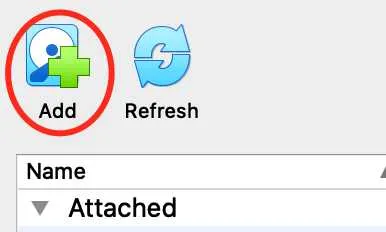
Click the “Add” button and select the “.hdd” file we copied from Parallel Desktop.
After you select the file it will show up in the list. Confim you have it selected and click “Choose”, then click “create”.
Then the VM is created, it should show up the list vm list in the left side of the main VirtualBox screen.
Select your vm and click the “start” button to give it the first run. It works for me right away for both Windows and Ubuntu.
Install Guest Addition
By default your vm will just run in a little window and will not adjust its resolution with the window size. To solve this problem, we just need to click “Device > Install Guest Additions” on VirtualBox menu when a VM is running. It performs as an extra disk was insert to the VM so that the vm can run the program.
Base on your system, it should usually just pop up installation prompt after you click that button. After installation you will be ask to restart, that will usually solve the resolation right away.
Comments